DIY Hydroponics Gardening: A Step-by-Step Guide

If you have a passion for gardening and a love for fresh, homegrown produce, then DIY hydroponics gardening might be the perfect project for you! Hydroponics is an innovative and efficient way to grow plants without soil, using nutrient-rich water solutions instead. In this step-by-step guide, we’ll walk you through the process of setting up your very own DIY hydroponics system and cultivating a thriving indoor garden.
Step 1: Gather Your Materials
Before you start, make sure you have all the necessary materials for your DIY hydroponics setup. Here’s a list of what you’ll need:
- Container for Your Plants: This can be a plastic storage bin, bucket, or even repurposed containers.
- Growing Medium: Choose a suitable growing medium such as rockwool, clay pellets, or coco coir to support your plants’ roots.
- Net Pots: These are small cups or baskets that hold the plants and growing medium in place.
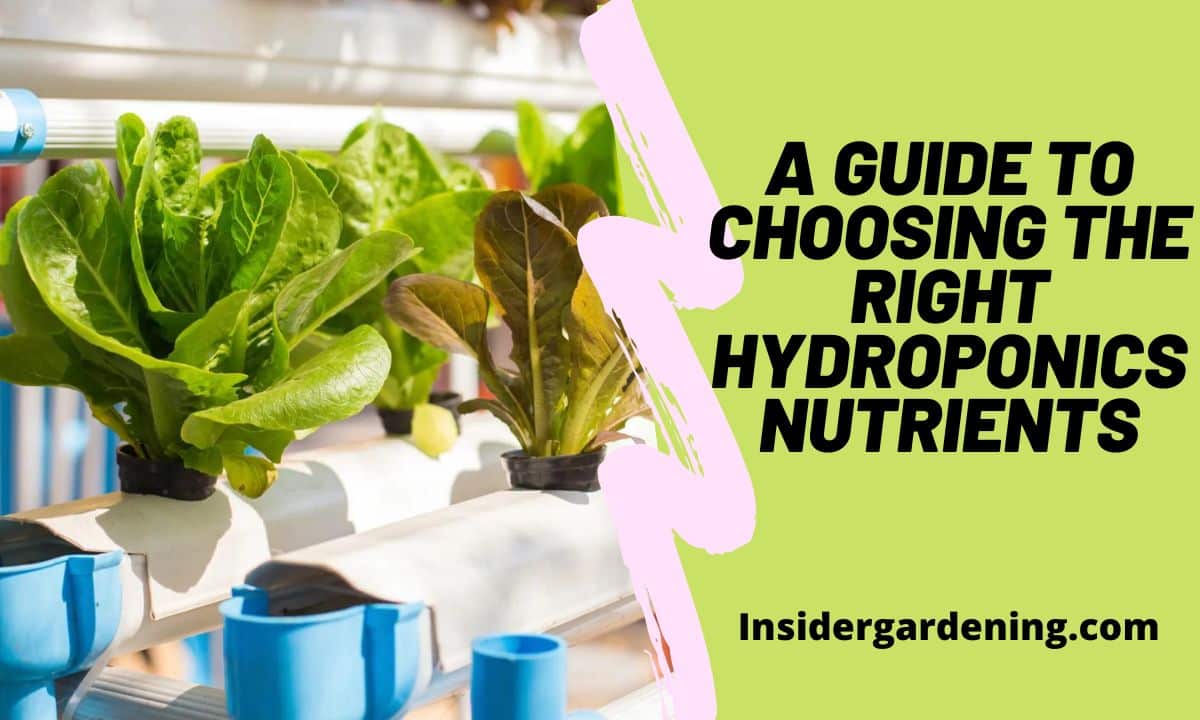
- Nutrient Solution: Invest in a high-quality hydroponic nutrient solution to provide essential minerals and nutrients for your plants.
- pH Kit: Get a pH testing kit to monitor and adjust the nutrient solution’s acidity levels.
- Grow Lights: Indoor plants need proper lighting. LED grow lights are energy-efficient and provide the right spectrum for plant growth.
- Air Pump and Air Stone: Oxygenate the water in your hydroponics system to ensure healthy root development.
- Timer: For automated control of lighting and nutrient delivery.
Step 2: Choose Your DIY Hydroponics System
There are several DIY hydroponics systems to choose from, depending on your available space and gardening preferences. Here are three popular options:
1. Deep Water Culture (DWC)
The Deep Water Culture system is one of the simplest and most popular DIY hydroponics setups. In this method, plant roots are suspended in a nutrient solution, and an air stone provides oxygen to the water. The plants receive constant access to nutrients, promoting fast growth.
2. Nutrient Film Technique (NFT)
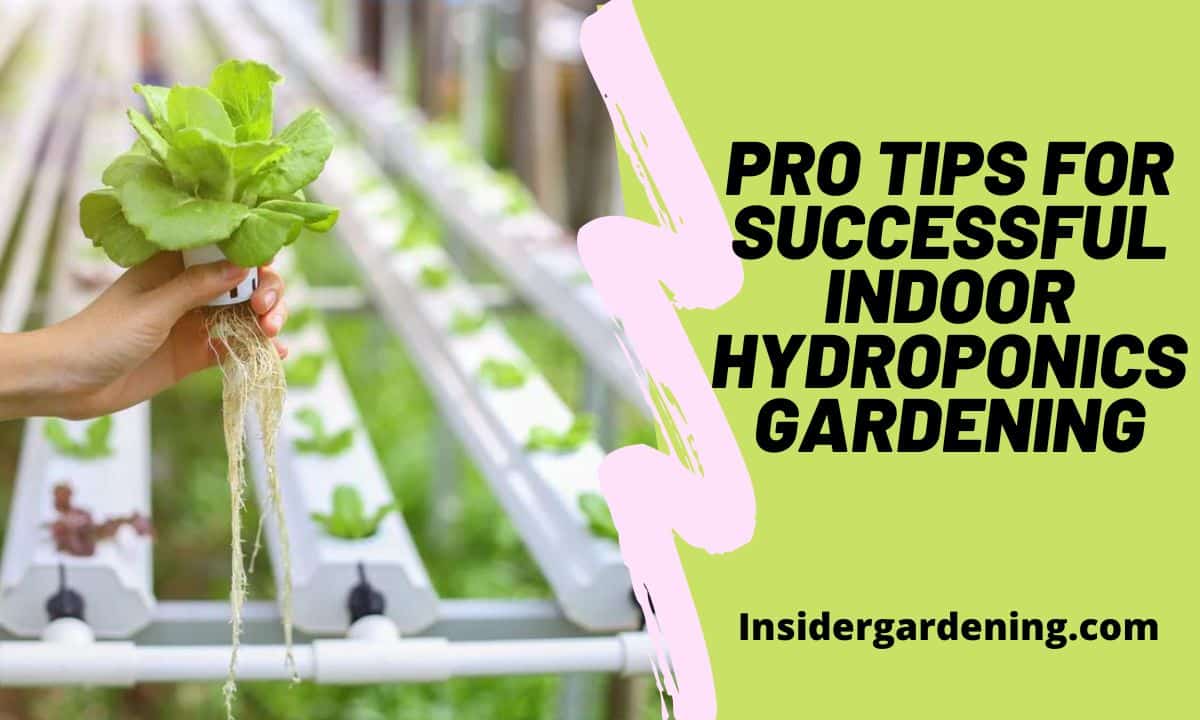
NFT is a space-efficient system where a thin film of nutrient solution continuously flows over the plant roots. It’s ideal for small spaces and works well with fast-growing crops like lettuce and herbs.
3. Ebb and Flow (Flood and Drain)
The Ebb and Flow system involves periodically flooding the grow tray with the nutrient solution and then draining it back into the reservoir. This intermittent flooding ensures that the plants receive both nutrients and oxygen, leading to healthy growth.
Step 3: Assemble Your DIY Hydroponics System
Once you’ve chosen your DIY hydroponics system, it’s time to assemble it:
- Prepare the Container: Clean and sanitize your chosen container before use.
- Create Holes for Net Pots: Depending on your system, make holes in the container’s lid or top surface to hold the net pots.
- Place the Air Stone: Position the air stone at the bottom of the container and connect it to the air pump outside.
- Insert Net Pots: Place the net pots into the holes you created earlier.
- Add Growing Medium: Fill each net pot with the chosen growing medium, ensuring it supports the plant securely.
- Prepare the Nutrient Solution: Follow the instructions on the nutrient solution package to prepare the correct mixture.
- Add Plants: Gently place your chosen plants into the net pots, ensuring their roots are surrounded by the growing medium.
Step 4: Provide Adequate Lighting and Nutrients
For your DIY hydroponics garden to thrive, it needs the right lighting and nutrients:
- Install Grow Lights: Hang the LED grow lights above your plants and adjust the height as they grow.
- Set Up the Timer: Use the timer to control the lighting and nutrient delivery schedule. Most plants require around 12-16 hours of light per day.
- Monitor Nutrient Levels and pH: Regularly check the nutrient solution’s levels and pH using the testing kit. Adjust as needed to keep the conditions optimal for your plants.
Step 5: Care and Maintenance
Congratulations! Your DIY hydroponics garden is now set up and ready to grow. Here are some tips for caring for and maintaining your indoor hydroponic garden:
- Prune and Harvest Regularly: Remove dead leaves and harvest mature crops promptly to encourage continuous growth.
- Keep It Clean: Ensure a clean and sanitized environment to prevent the spread of pests and diseases.
- Monitor Your Plants: Pay attention to your plant’s health and growth. Adjust the lighting, nutrient levels, and pH as needed to optimize their development.
Step 6: Enjoy the Fruits of Your Labor
With your DIY hydroponics garden up and running, it won’t be long before you start enjoying the rewards. Fresh, homegrown produce, free from pesticides and soil contaminants, will be at your fingertips throughout the year. Get ready to savor the satisfaction of growing your own garden paradise right in the comfort of your home!
Conclusion
DIY hydroponics gardening offers an exciting and rewarding way to grow your favorite plants and vegetables without the need for outdoor space or soil. With a bit of effort and some essential materials, you can create a thriving indoor garden that provides fresh, nutrient-rich produce all year round. So, why wait? Dive into the world of DIY hydroponics gardening and experience the joy of cultivating your very own homegrown bounty.


