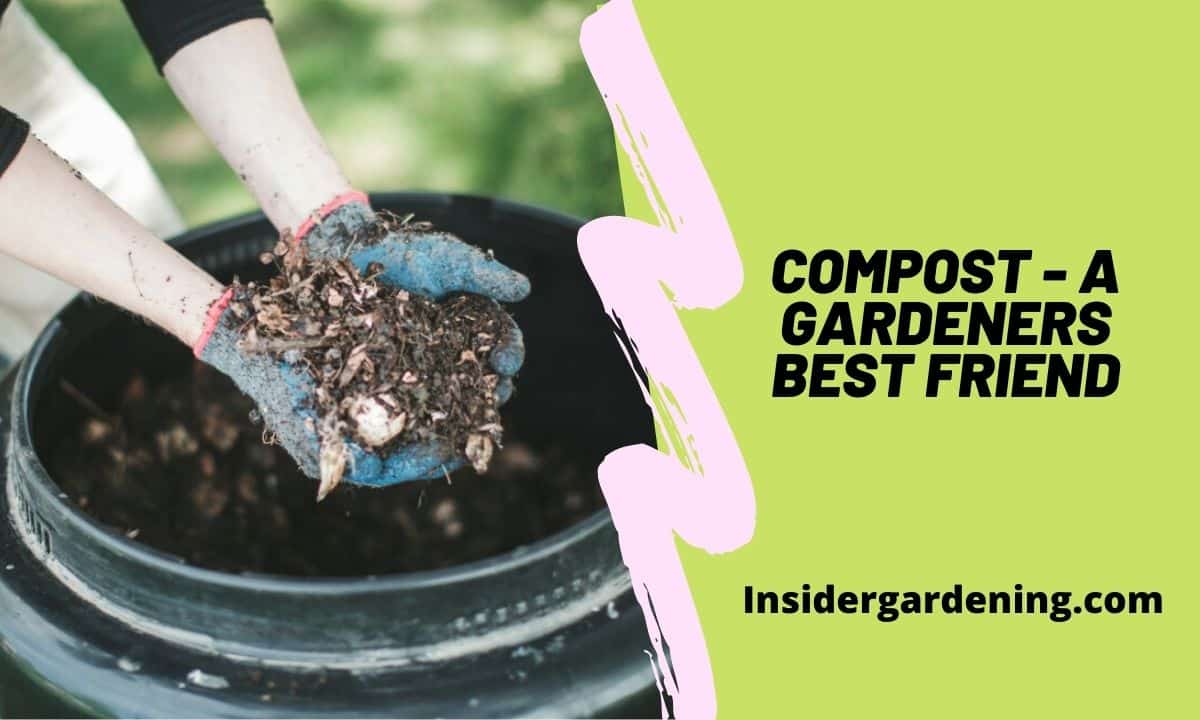
Compost – A Gardeners Best Friend

Compost piles have a reputation in some quarters for being smelly and attracting flies. That’s only because many well-meaning people have built them without understanding how to do it right. And doing it right is no harder, only different!
If you want to avoid a smelly pile that draws flies, and your neighbors disapproving glare, don’t ever add meat scraps or dairy products to it. Also, never throw the already decomposing leftovers from Saturday’s frig clean-out on top of your pile, bury the leftovers in the center of the pile. Get rid of the meat scraps and dairy leftovers some other way (the neighbor’s dog?). An alternative for kitchen scraps is a WORM BIN on the back porch. Worms make undemanding “pets” who will live on what you throw away and in return, create some rich compost!
The trick with compost is to have a good balance of wet “green” material and dry “brown” material to keep it fluffy enough to allow air through the pile. It is important to keep it from being soggy and matted down. Keep a bale of straw or a pile of last fall’s leaves next to the bin so you have some brown fluffy stuff to toss on top of each layer of wet greens you put in. Keep the pile slightly moist all the time. Running a hose on it now and then during dry weather works, then throwing a plastic tarp on it during the wet part of the year.
The thing is, even if you don’t do it any special way and simply toss it all in an unlovely heap in the back corner of the yard (but do bury the kitchen scraps within the pile or put them in a worm bin) after a year or two, most of it will be compost anyway! With a little attention, it works much faster. Once you see how great compost is and the many ways you can use it, you’ll wish you had truckloads of it, and may even start combing the neighborhood for more materials to add to it! A word of caution here: if your neighbor uses chemicals in the form of “weed and feed” or pesticides on his lawn or herbicides on his weeds, they can transfer to your soil and plants. So you might ask first
Compost made from a variety of materials is highly nutritious. When applied regularly to the soil, you may need no additional fertilizer, and it can be used for seed sowing, potting mixes, lawn top-dressing, and plant mulch.
Compost Guidelines
Use old compost or healthy soil as a “starter”. The micro-organisms in these will get the decomposition process going. Mix “browns” and “greens” together when your bin is full, for a faster, more consistent compost. After this mix, little or no turning is needed. Simply maintain a slightly moist pile and you’ll get great compost with no additional work.
Grass clippings are better left on the lawn where they will act as fertilizer. If they are too long to do this without matting, allow them to dry out a bit in the sun. Then compost them or use them as a thin mulch around veggies.
Shredded or chopped materials decompose faster. Try running a mower over your pile of weeds or leaves, a shredder/grinder is even better!
Things to use: Vegetable and fruit waste, hay, sod, weeds, and leaves.
Things to keep out: Meat and dairy products, noxious weeds; such as bindweed, poison oak, and ivy, and quackgrass; pet waste. Avoid diseased plants as it takes a very hot pile to kill the disease pathogens.
Finished compost will smell like rich earth and be fluffy and crumbly.
Some Composting Ideas
Any unfinished compost remaining in the spring can be spread thickly – 6 inches or more – in an area you wish to improve, and then planted with potatoes, pumpkins, or winter squash. By harvest time you will have a bed of finely finished compost and a much-improved soil underneath…
Ready-made bins are available, but they can be easily made from such things as stacked concrete blocks, picket, wire or snow fencing, or 36-inch “hardware cloth” formed into a large ring. (Any structure that will retain composting material and allow some air circulation.)
Bag Composting is easy, too. Plant wastes and bagged chicken manure or organic fertilizers are mixed well together in a large plastic yard bag, moistened lightly, tied up, and set aside for 2-3 months.
Another excellent method of composting is a WORM BIN. A simple tidy bin can be made from a large covered plastic storage box with small holes poked in the top and upper sides. It should be 18″-24″deep and 24″x 24″ or 24″x 36″ for larger families. Fill it nearly to the top with shredded newspaper (black and white only), computer paper, or cardboard, then moisten well (not wet) and put one pound of Red Wigglers or Red Manure worms on top.
Keep a small bucket under the sink for kitchen scraps and every few days dig a new hole in the worm bedding and bury the contents of the bucket. Keep the bin in a handy place that won’t freeze in winter or bake in summer. Renew two-thirds of the bedding every 2-3 months and toss the finished compost on your garden or tuck it around your houseplants. For more detailed instructions read “Worms Eat My Garbage” by Mary Appelhof.